Users, Roles & Permissions
Add the people who work in Raya, control exactly what each of them can see and do, issue API keys for integrations, and review who signed in and what they changed.
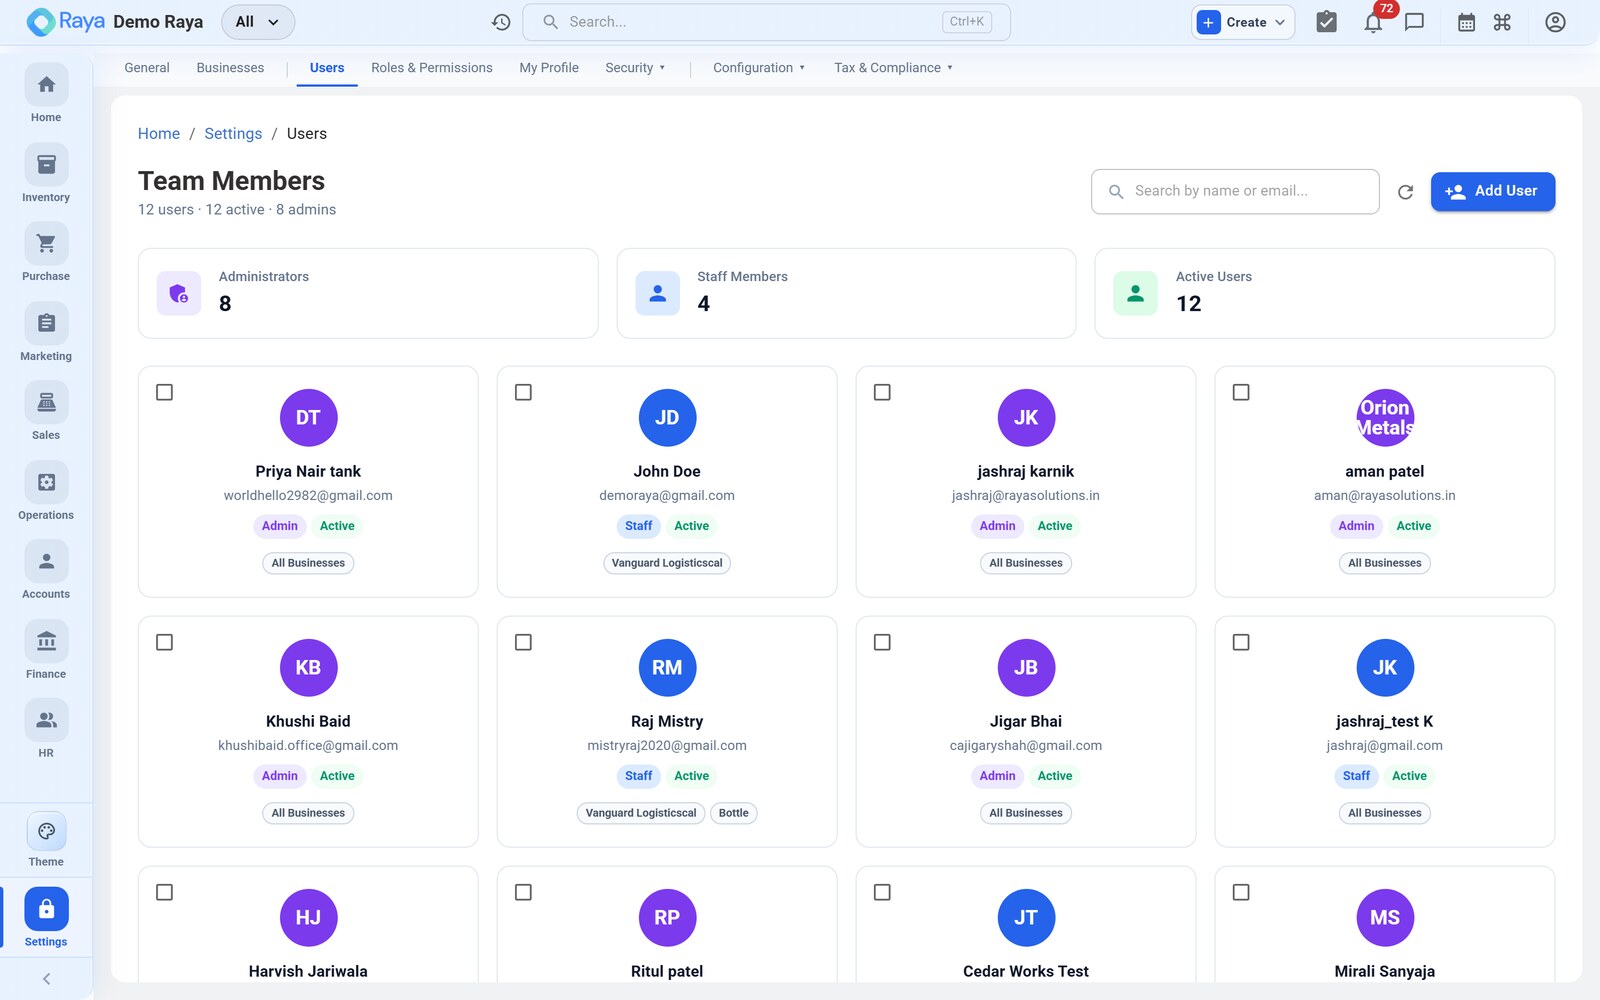
Add a user
- Go to Settings → Users and click + Add User.
- Enter their email, first and last name, and mobile.
- Choose a role (see below), or the specific modules they may access.
- Send invitation — the person receives a link, sets their own password and configures multi‑factor authentication (MFA) on first sign‑in.
You can later edit, block (login disabled, data kept) or delete (soft delete, kept for audit) any user.
Roles vs. granular permissions
Access can be granted in two ways, and they work together:
| Level | What it does |
|---|---|
| Admin | Full access to every module, plus user and settings management. |
| User | Access limited to the modules you grant. |
| Named role | A reusable bundle of per‑module permissions you define once and assign to many users. |
Under Settings → Roles & Permissions you create named roles and set each module — Inventory, Sales, Purchase, Marketing, Operations, Accounts, Finance, HR and Settings — to view‑only, edit, or no access. Built‑in ("System") roles can't be changed or deleted; duplicate one to start your own.
Typical roles: a Sales Rep with edit on Sales and Marketing; a Warehouse Operator with edit on Inventory and Operations; an Accountant with edit on Finance and view‑only on Sales.
API keys
For integrations — a website pushing orders in, a BI tool pulling data out:
- Go to Settings → API Keys → Create new API key.
- Give it a name, a permission (Read or Read/Write) and a user type (User or Service User).
- The key is shown once — copy it immediately and store it safely.
- Send it as an
Authorization: Bearer <key>header.
Revoke a key at any time; the action is immediate and cannot be undone.
Never expose an API key in client‑side code or a public repository. Raya may automatically disable a key that is detected as leaked.
Login activity & audit trail
Two read‑only logs help you keep the account secure:
- Login Activity — every sign‑in attempt with its outcome (Success, Failed, MFA Required, Account Locked, Logout, Session Expired), plus the user, browser and time.
- Audit Logs — what users did across modules: page views and Create, Update, Delete and Export actions, filterable by user, module and date.
Related
- Overview — company profile and other admin settings.
- Notifications — what each user is alerted about.